
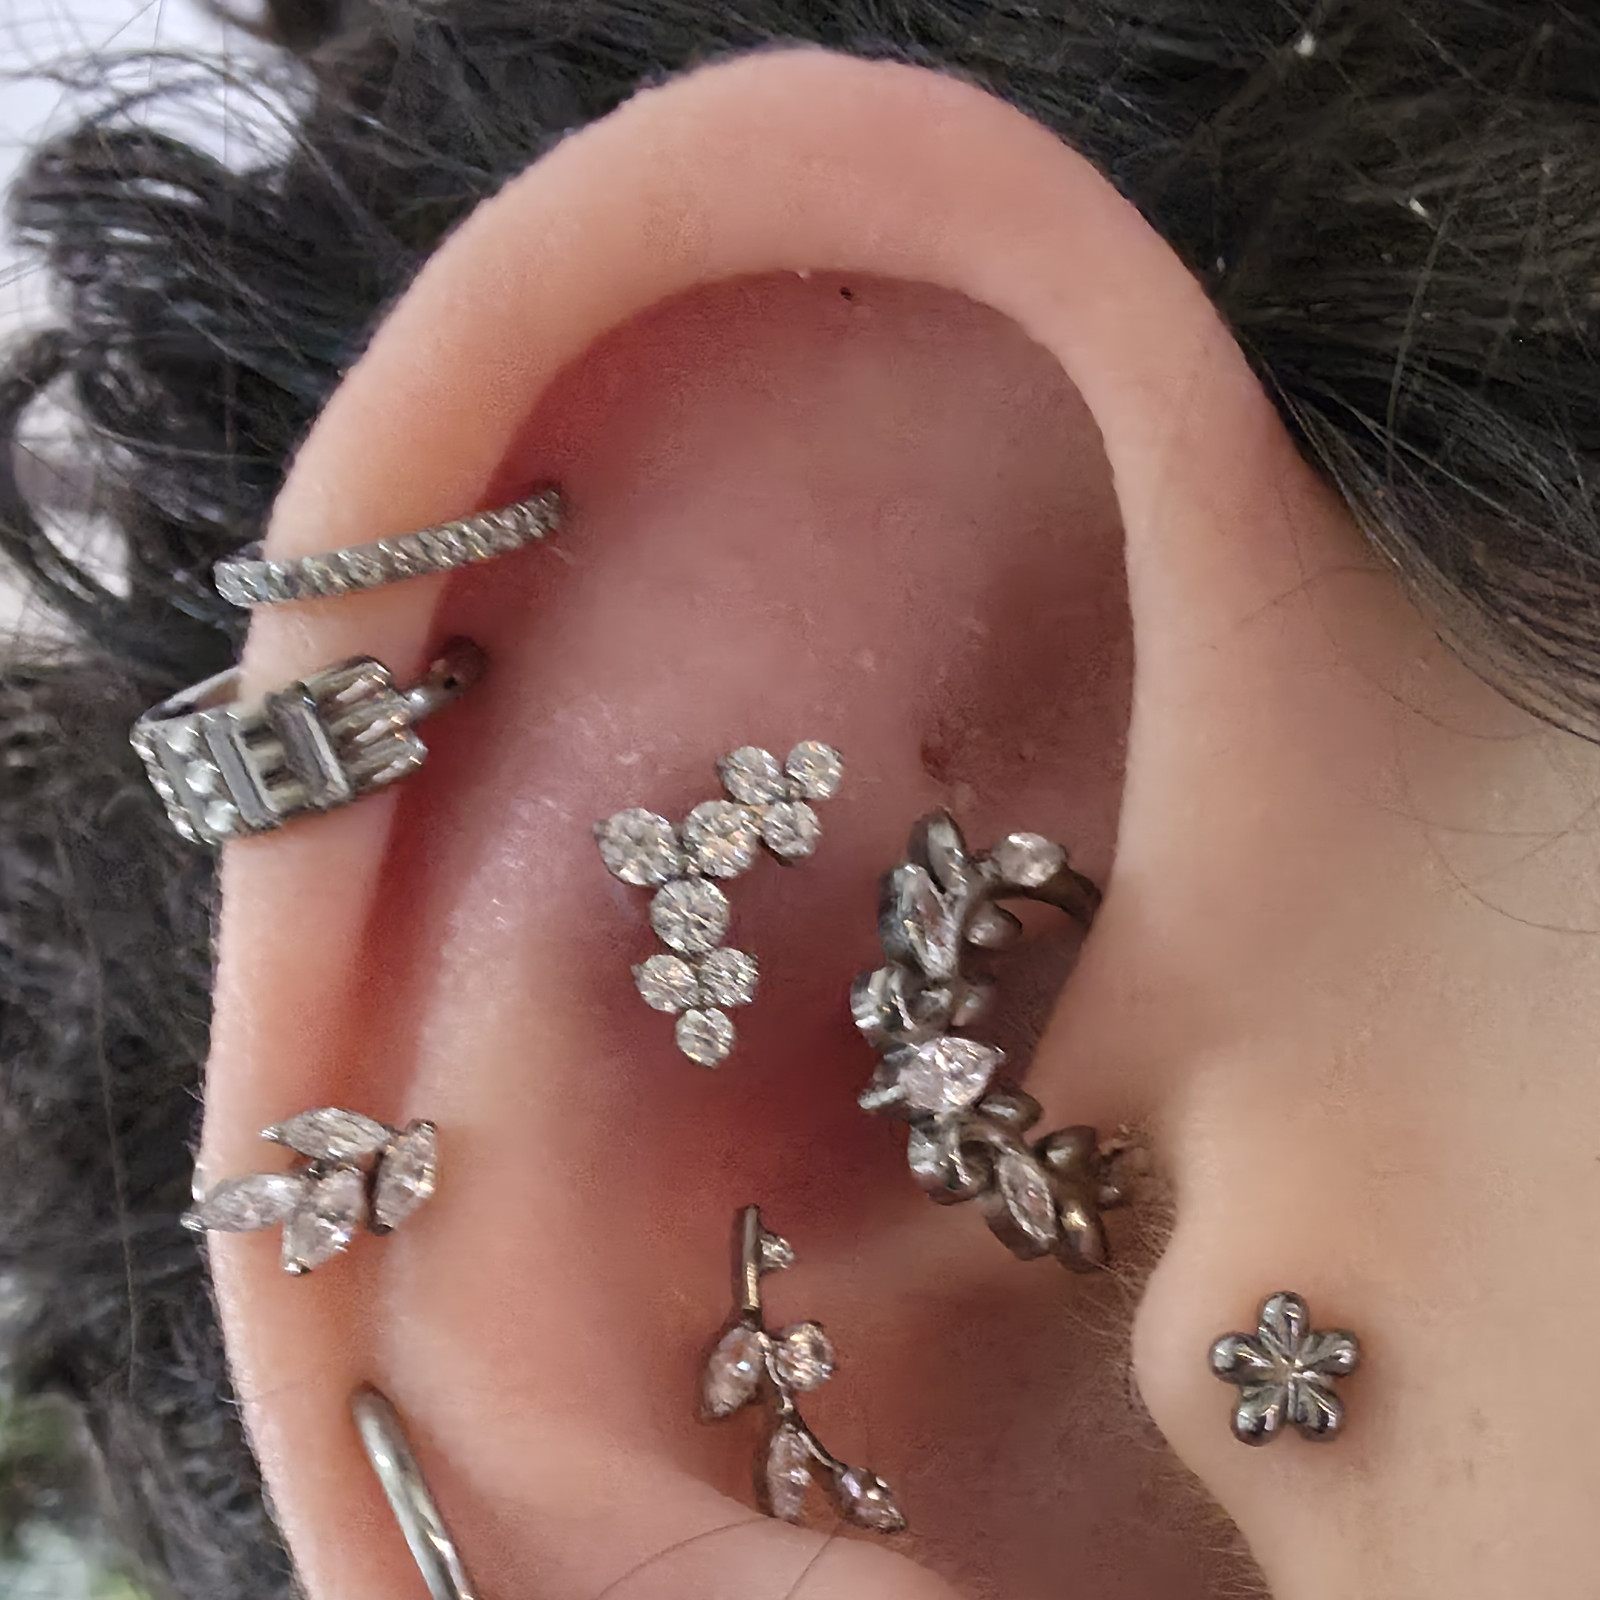
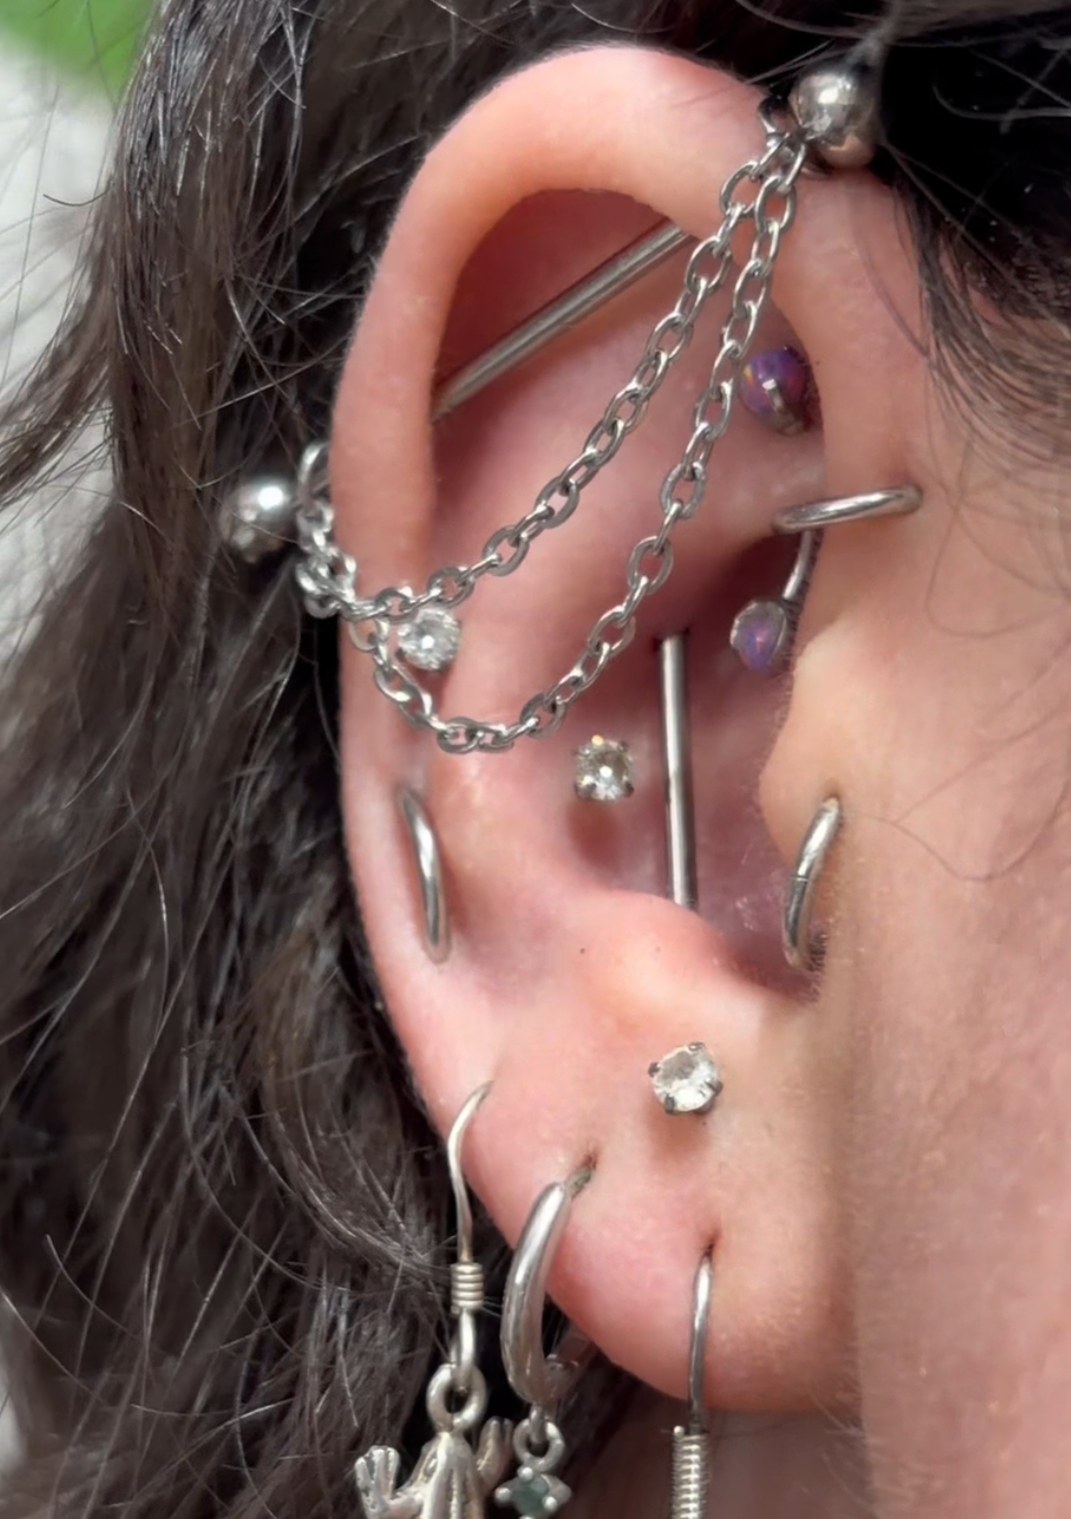
A curated ear is one of those things that looks effortless and is anything but. When it is done well, every piece feels like it belongs, the metals talk to each other, and the whole ear reads as one considered look rather than a handful of piercings that happened over the years. The good news is that you do not need a stylist or a huge collection to get there. You need a little planning, the right sizes, and jewellery that is safe to wear long term.
This is my full guide to building a curated ear from scratch, or bringing an ear you already have into something more intentional. I will cover the anatomy, how to choose an anchor piece, the quiet rules that make a cluster look considered, how to mix metals without it looking accidental, and how to get sizing right so nothing sits wrong. Take what is useful and leave the rest, because the whole point of a curated ear is that it looks like you.
What a curated ear actually means
A curated ear, sometimes called an ear stack or an earscape, is a deliberate arrangement of several piercings styled to work together. The word that matters is deliberate. It is not about having the most piercings, and it is definitely not about filling every possible hole. Some of the most striking ears have five or six pieces with plenty of bare skin between them. Others are dense and layered. Both can be beautiful, and both come down to the same thing: choices made on purpose.
Curation happens on two levels. The first is placement, meaning where the piercings sit and how they lead your eye up and around the ear. The second is the jewellery itself, meaning the metals, the finishes, the sizes and the little details like whether a piece sits flat and close to the skin or hangs with movement. When both levels agree, the ear looks finished.
Start with your ear, not a screenshot
It is tempting to save a photo of someone elses ear and try to copy it piercing for piercing. The problem is that every ear is shaped differently. The curve of your helix, the size of your lobe, the fold of your conch and the space you have on your flat are all yours, and they decide what will actually suit you and heal well. A layout that looks incredible on one person can sit awkwardly on another simply because the anatomy is different.
A good piercer will look at your ear and tell you honestly what your anatomy can and cannot take. Listen to them. If they say a particular piercing will not heal well for you, that is worth far more than matching a picture. Use inspiration images for the feeling you are after, the density, the metal mix, the general mood, and let your own ear decide the specifics.
A quick map of ear piercings
You do not need to memorise every name, but knowing the main spots helps you plan and helps you talk to your piercer. Working roughly from the bottom of the ear upward, here are the placements you will hear about most.
Lobe. The soft lower part of the ear. Easy to pierce, quick to heal, and the natural home for your anchor pieces and any dangles. Many people stack two or three lobe piercings here.
Helix. The outer upper rim. A classic spot for small studs and delicate hoops, and one of the most flexible placements for building height into a stack.
Flat. The flat area of cartilage inside the upper rim. Perfect for a single statement stud or a small cluster, because it gives a flat piece a clean backdrop.
Conch. The large bowl in the middle of the ear. It suits both a bold stud and a large ring that frames the whole ear.
Tragus. The little nub in front of the ear canal. A tiny stud here adds a lovely point of interest near the face.
Rook and daith. Folds of cartilage in the inner ear that suit curved jewellery and small hoops, and add depth to a busier stack.
You do not need all of these. Most curated ears are built from the lobe, a couple of helix points, and one cartilage feature like a flat or a conch.
Choose your anchor piece first
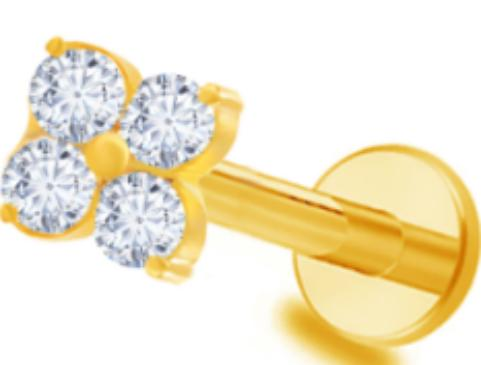
Every good stack has an anchor, one piece that is a little bolder or brighter than the rest, that the eye lands on first. Everything else is chosen to support it. Your anchor might be a zircon cluster on the lobe, a statement clicker on the conch, or a single sparkling stud on the flat. Pick this first, then build outward with quieter pieces so the anchor keeps its moment.
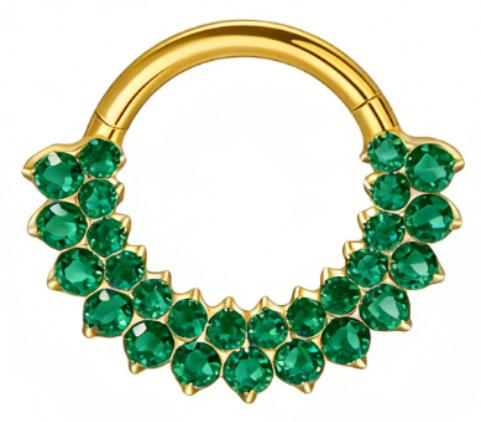
A common mistake is choosing several loud pieces and letting them fight for attention. If everything sparkles at maximum volume, nothing stands out and the ear can look busy rather than curated. One clear hero, supported by smaller companions, almost always reads as more considered and more expensive.
The quiet rules: odd numbers and negative space
Two design ideas do a lot of heavy lifting. The first is odd numbers. Groups of three or five tend to look more natural and balanced to the eye than groups of two or four. If you are clustering studs on the flat or stacking the lobe, try landing on an odd count.
The second is negative space, which is just a nice way of saying bare skin. Resist the urge to fill every gap. The spaces between pieces are what let each one breathe and what stop a stack from looking cluttered. Think of it like styling a shelf, where the empty room around an object is part of why it looks good.
Mixing metals and colours
You are allowed to mix silver and gold tones. In fact a deliberate mix often looks more modern and more personal than a single metal throughout. The trick is to make the mix look intentional. Repeat each tone at least twice so it reads as a choice, for example two gold pieces and three silver, rather than one lonely gold stud among silver that looks like it was left in by accident.
Just as important as the colour is the material underneath it. For piercings, especially healing ones, the metal needs to be genuinely body safe. Implant grade ASTM F-136 titanium is nickel free and holds a gold finish beautifully, so you can mix tones without mixing in irritation. If you want the full picture on which metals are actually safe and which to avoid, read my guide on titanium versus surgical steel versus sterling silver.
Getting the size right
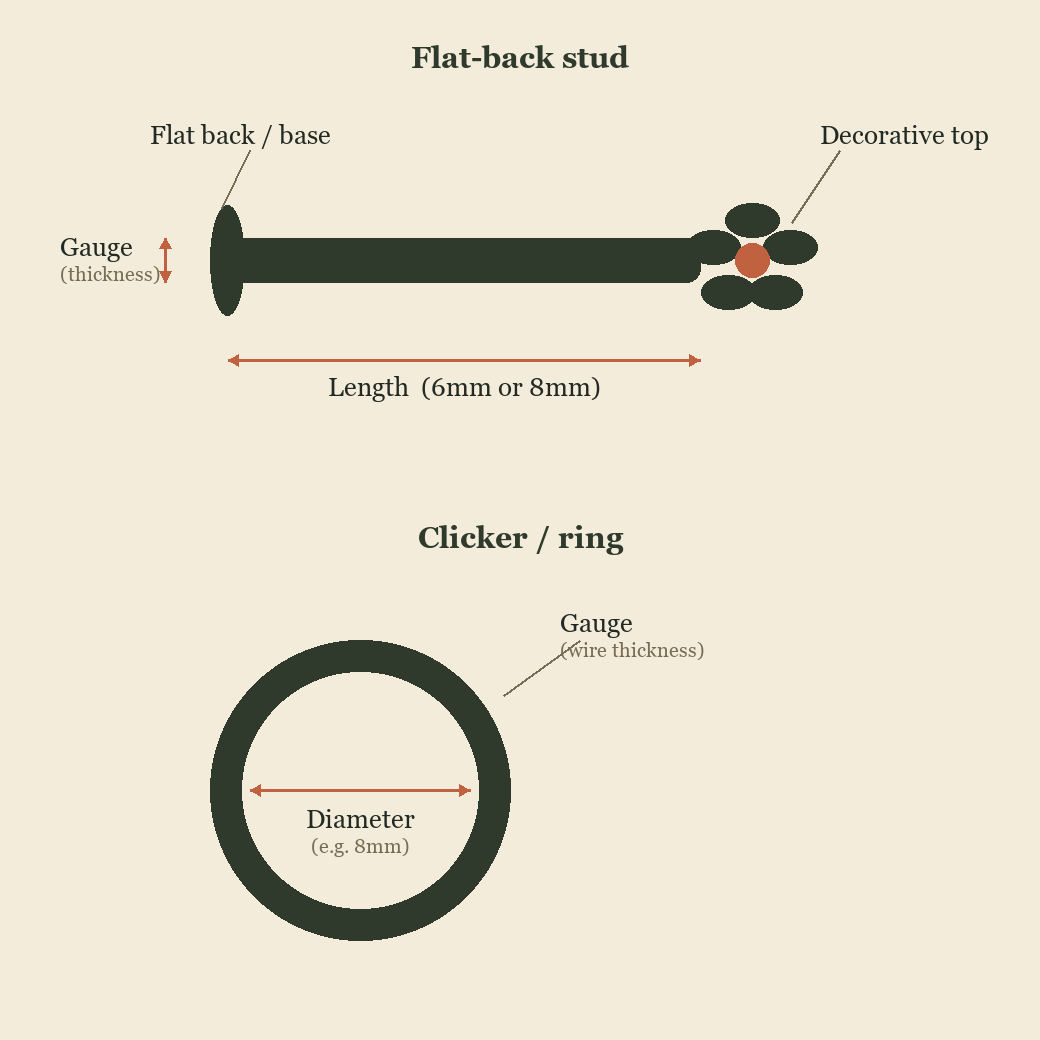
Nothing undoes a beautiful stack faster than the wrong size. Two numbers matter. Gauge is the thickness of the bar, and it needs to match the piercing so the jewellery sits securely without stretching or wobbling in the hole. Length or diameter is how the piece sits, whether a labret is snug to the skin or a hoop is the right size to frame the piercing.
If you are not sure of your sizes, your piercer can tell you, and the size guide walks through gauge, length and diameter with a diagram so you can order with confidence. When in doubt, ask before you buy rather than guessing, because a piece that is the wrong gauge will never sit right no matter how lovely it is.
Why threadless makes curation easy
Threadless jewellery, also called push in, is the easiest to build with. The top simply pushes into the bar and holds by tension, with no tiny screw thread to line up. For a curated ear this matters more than it sounds. Threadless tops are quick to change, which means you can swap a stud for a sparkle or restyle a whole cluster in minutes, and you can mix and match tops and bars to get exactly the look you want. If you want to understand the difference, my guide on threadless versus threaded jewellery explains the difference.
Give every piercing time to heal
A curated ear is built over months, not in a single afternoon, and that is a feature rather than a limitation. Cartilage piercings in particular can take many months to settle, and rushing to add the next piece or to change jewellery too soon is the fastest way to end up with irritation instead of a stack. Pierce in stages, let each one calm down, and enjoy planning the next addition.
While things heal, keep aftercare simple and consistent. The aftercare guide covers the saline routine, what is normal, and what is worth a check with your piercer. Patience really is the secret ingredient here.
How to build yours
When you are ready to start choosing pieces, think in layers. Begin with your anchor, add a couple of supporting studs in a mix of your two chosen tones, then finish with a hoop or a clicker for movement. With interchangeable tops, you can grow your collection one piece at a time and restyle whenever the mood takes you, all in nickel free implant grade titanium that is safe to wear day in and day out.
If you would like a hand planning a look for your specific ear, message me on Instagram at @willowandthornjewels and tell me what you are working with. There is no such thing as a silly question when it comes to your own ear.
Trusted sources
For independent guidance as you build your ear, the Association of Professional Piercers explains what makes jewellery safe to wear in a piercing, and their aftercare information is a helpful companion while each new piercing settles.
Gemma
Leave a Reply