
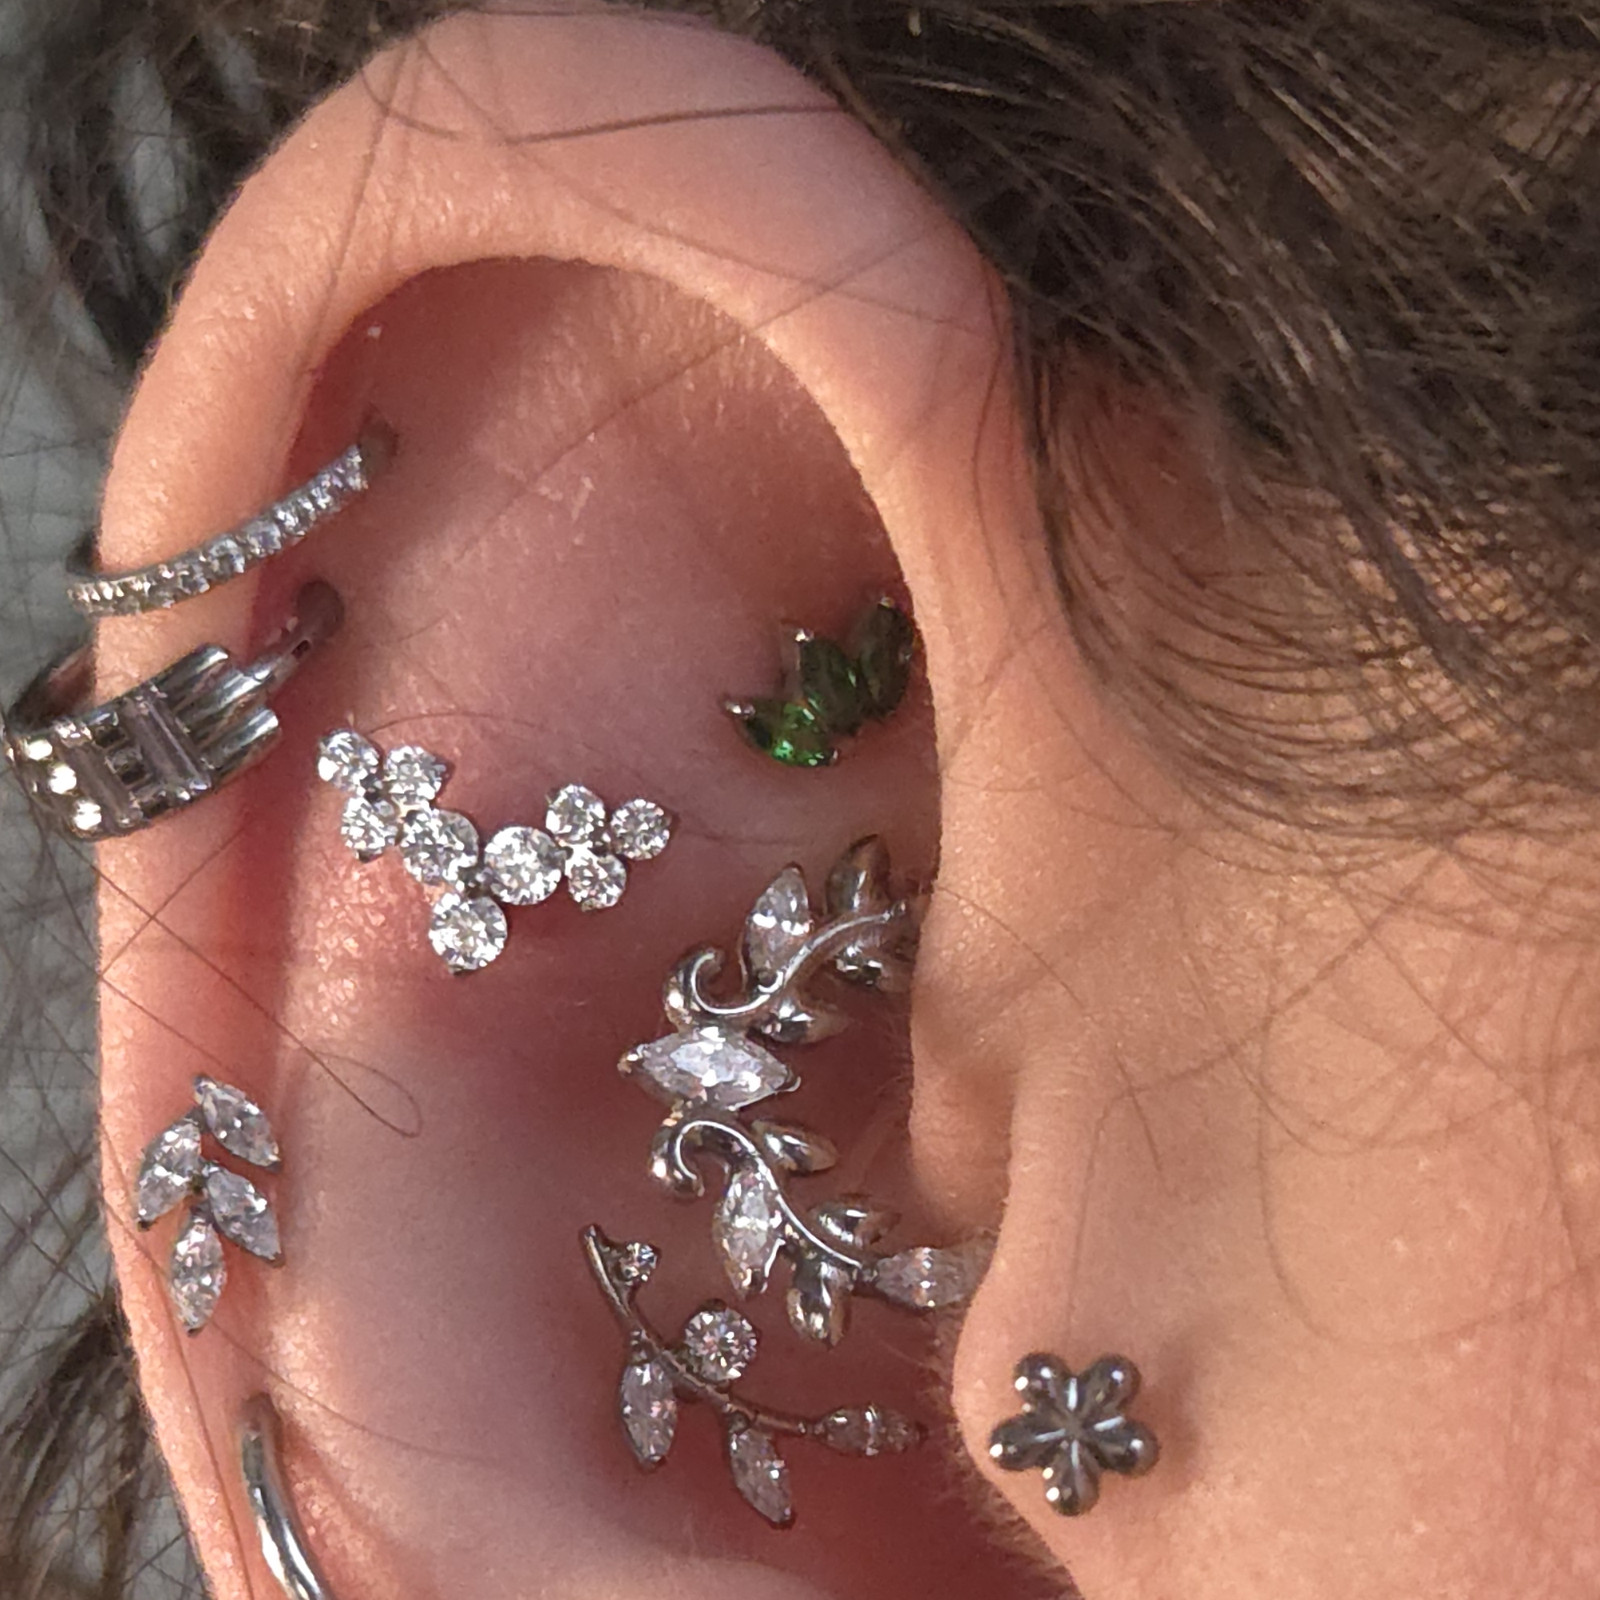
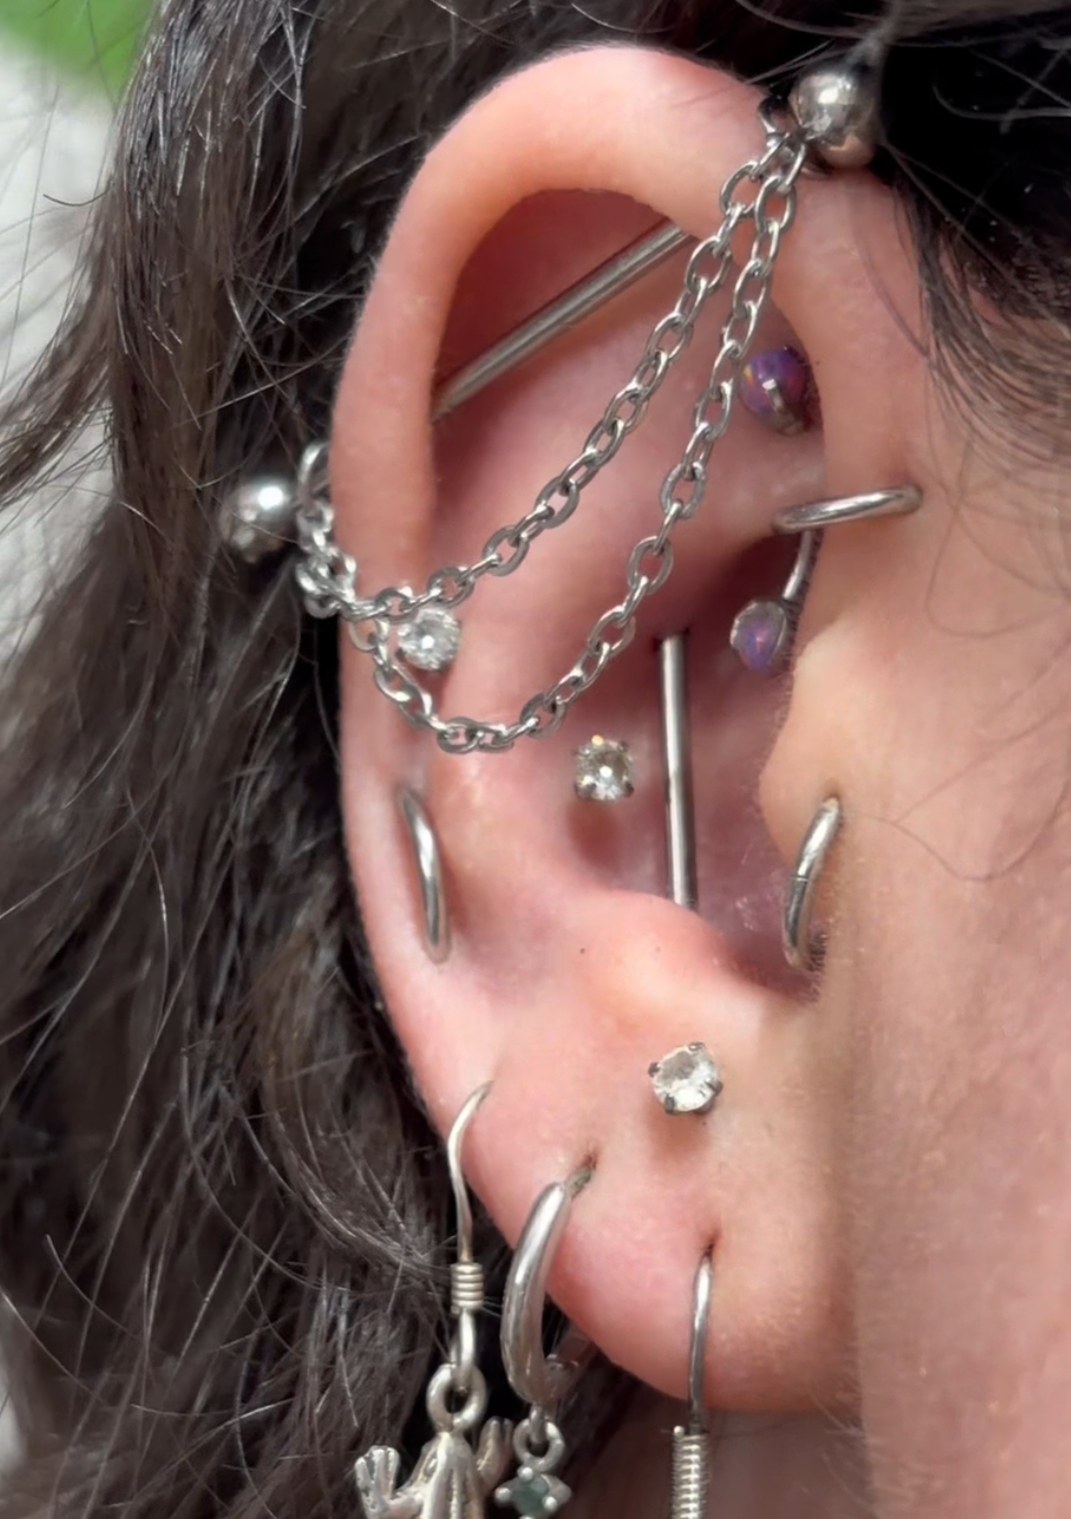
The ear is a surprisingly large canvas. Between the soft lobe and the folds of cartilage at the top, there are more than a dozen recognised piercing placements, each with its own character, its own healing pattern and its own best styles of jewellery. Knowing the map makes everything easier, whether you are planning your very first piercing or dreaming up a full curated ear. This guide walks around the ear placement by placement, in plain language, so you can talk to your piercer with confidence.
One thing to hold in mind throughout: not every placement suits every ear. Your individual anatomy decides what will sit well and heal happily, so treat this as a tour of the possibilities rather than a checklist to complete. A good piercer will look at your ear and tell you honestly which of these will work for you.
Lobe piercings
The lobe is the soft lower part of the ear and the friendliest place to start. It pierces easily, heals relatively quickly, and happily holds studs, hoops and dangles. Most people begin with a single standard lobe piercing, then build from there. Stacked lobes, where two or three piercings climb up the lobe, are a lovely way to layer jewellery, and upper lobe piercings sit just above the main lobe for a little more height. Because lobes heal well and take most jewellery styles, they are the natural home for your anchor pieces.
Helix piercings
The helix is the outer rim of cartilage that curves around the top of the ear. It is one of the most popular and most flexible cartilage placements, suiting small studs and delicate hoops alike. You will also hear about the forward helix, which sits at the front of the ear near the face, and about double or triple helix piercings, where two or three sit in a neat row. Helix piercings are cartilage, so they take longer to heal than lobes and reward patience.
The flat
The flat is exactly what it sounds like, the flatter expanse of cartilage inside the upper rim of the ear. It is a wonderful spot for a single statement stud or a small cluster, because the flat surface gives a piece a clean backdrop to shine against. Flat piercings are a favourite for showing off a sparkling top, and they pair beautifully with helix piercings above them.
The conch
The conch is the large, shell like bowl in the middle of the ear, and it takes its name from the seashell. It suits two very different looks. A bold stud in the conch sits like a centrepiece, while a large ring through the conch wraps around and frames the whole inner ear. The conch is a roomy placement with lots of styling potential, and it is a favourite anchor point for a busy curated ear.
The tragus and anti-tragus
The tragus is the small nub of cartilage that sits just in front of the ear canal, and a tiny stud here adds a delicate point of sparkle close to the face. Opposite it, the anti-tragus is the little ridge above the earlobe, a smaller and slightly trickier spot that suits small curved jewellery. Both are cartilage placements and both depend heavily on your anatomy, so a piercer will check whether you have enough of a ridge to take them.
Rook, daith and snug
These three sit in the inner folds of the ear and add real depth to a stack. The rook is the fold of cartilage in the upper inner ear and suits curved barbells and small hoops. The daith is the innermost fold, often worn with a pretty ring that peeks out from the centre of the ear. The snug, also called the anti helix, runs along an inner ridge and is one of the more anatomy dependent placements. Because they are tucked into cartilage, all three heal slowly and like to be left alone.
The industrial
An industrial piercing is a single straight barbell that connects two separate cartilage piercings, usually across the upper ear. It makes a striking, architectural statement, but it asks a lot of your anatomy and your patience, as two cartilage piercings must heal while joined by one bar. It is a commitment piece, and worth a careful conversation with an experienced piercer.
Which placements will suit you
The honest answer is that your ear decides. The curve of your helix, the depth of your conch, the size of your lobe and the presence of a tragus ridge all determine what can be pierced and what will heal well. This is why copying someone else photo for photo rarely works. Use this guide to learn the language and gather ideas, then let a good piercer map the possibilities onto your own ear.
Healing varies by placement
As a rule, lobes heal fastest, often feeling settled within a couple of months, while cartilage placements such as helix, conch, rook and daith can take many months to a year to fully heal even when they look fine on the surface. Planning a full ear is therefore a project measured in seasons, not days, and that is part of the pleasure. Pierce in stages, let each one calm down, and enjoy planning the next.
Getting the jewellery right
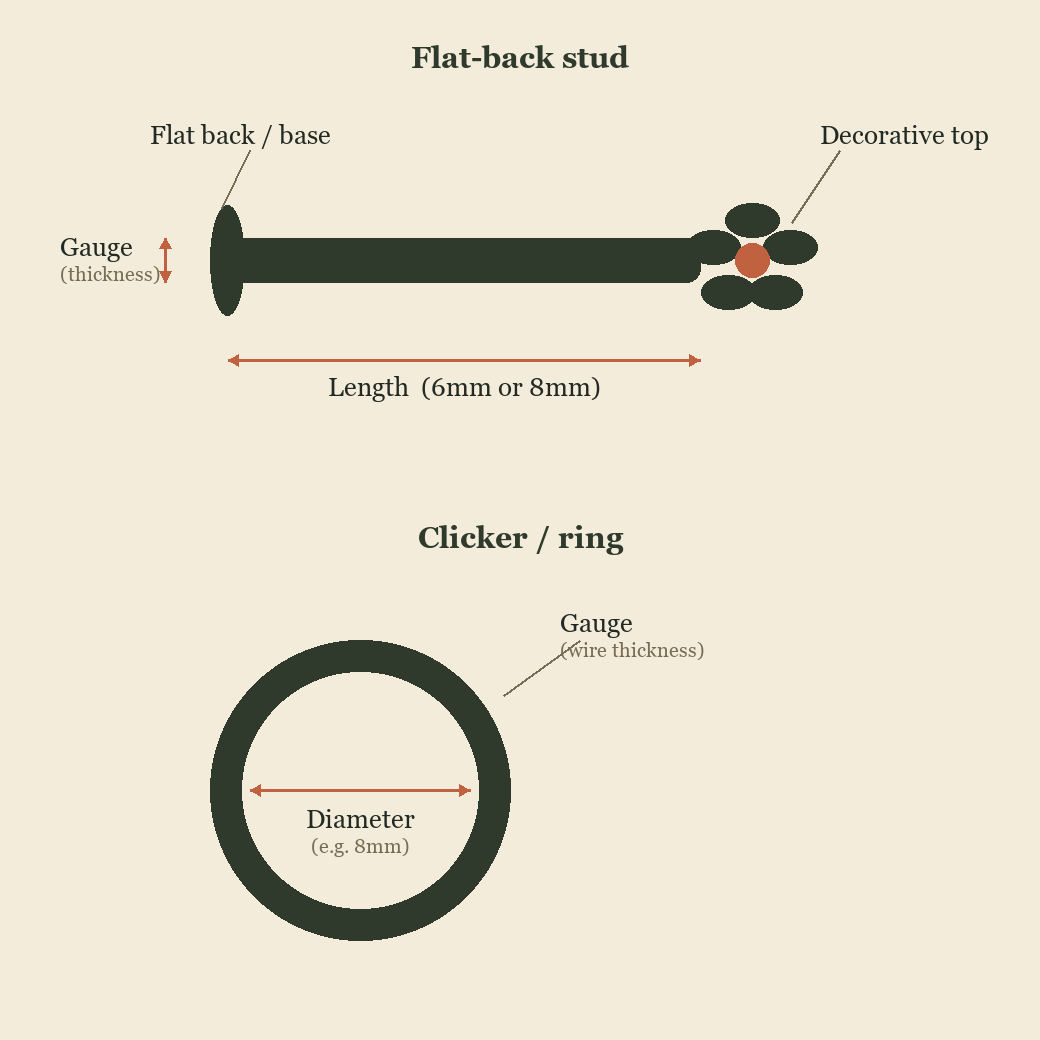
Each placement has styles that suit it best, but two things matter everywhere: the size and the material. The gauge and length or diameter must match the piercing so the piece sits securely, which the size guide explains, and the metal must be genuinely body safe, which is why nickel free implant grade titanium matters, as covered in my guide on safe metals. When you are ready to design a whole look across several placements, my other guides on building a curated ear and choosing jewellery will help you pull it together.
Wherever you are on your ear journey, from a first lobe to a full stack, the map above is yours to play with. Take your time, listen to your piercer, and let your ear become a little collection that is entirely your own.
Orbital and connected piercings
Beyond the single placements, some piercings are designed to work together. An orbital is two piercings joined by a single ring that passes through both, often worn in the lobe or the helix, and it creates a neat, closed loop that looks more intricate than it is to wear. Connected looks like these, and the industrial mentioned earlier, ask a bit more of your healing because two channels settle at once, but they add real character to an ear once they are established. They are worth considering only once you are comfortable caring for simpler piercings first.
Do your ears have to match?
There is no rule that says your two ears must mirror each other. Some people love perfect symmetry, with the same placements on both sides, while others deliberately build one statement ear and keep the other minimal, or let each ear tell a slightly different story. Both approaches are valid, and asymmetry can look wonderfully modern. Think about how you wear your hair too, since a side you often tuck back will show more than one you usually cover, and you may want to concentrate your favourite pieces there.
A gentle order for first timers
If you are just starting out and dreaming of a fuller ear, it helps to build in a sensible order rather than all at once. Lobes are the kindest place to begin, healing quickly and letting you get used to aftercare. From there, an outer helix is a popular next step. Inner cartilage placements such as the conch, rook and daith are best added once you are confident with healing and happy to be patient, since they take the longest. Building this way keeps the process enjoyable rather than overwhelming.
Making the most of your piercer
Your piercer is the single best resource you have, so use them well. Bring a few inspiration images for the general feeling you are after, then ask them honestly what your anatomy can take and in what order they would recommend building. A good piercer will happily map out a plan across several visits, telling you which placements will suit you and which to skip. That conversation, more than any guide, is what turns a wish list into a beautiful ear that actually heals.
Aftercare changes with the placement
It is worth knowing that different placements ask for slightly different patience, even though the basic routine is the same everywhere. A lobe will often feel settled while a helix on the same ear is still quietly healing underneath, and inner cartilage such as the conch or rook takes the longest of all. The care itself stays simple, a gentle sterile saline clean once or twice a day and otherwise hands off, as set out in the aftercare guide. What changes is how long you keep it up, so let the slowest piercing set your timeline rather than the quickest.
Let your ear grow with you
A curated ear is rarely finished in one sitting, and that is a feature rather than a flaw. With threadless, interchangeable tops, you can add and restyle pieces over months and years, letting the ear evolve with your taste and your budget. Start with the placements that suit you and heal easily, then add the more adventurous ones as you grow confident. When you are ready to plan the whole look, my curated ear and styling guides pull all of this together.
Trusted sources
For trusted, independent advice, see the Association of Professional Piercers on appropriate jewellery and on aftercare as you plan and heal your piercings.
Gemma
Leave a Reply